Taxonomies are controlled lists of tags uses for many functions within Content Hub, including content organization and workflows. Taxonomies are meant to grow and change over time to adapt to system and user needs. However, there should be governance in place so that any changes are made judiciously. Asset admins have the ability to edit taxonomies, but any changes should be preapproved by system governance processes before being implemented.
Expand the following tabs to view instructions for administering the Content Hub taxonomy.
To edit a taxonomy item:
- Click the gear icon to open the system management page.
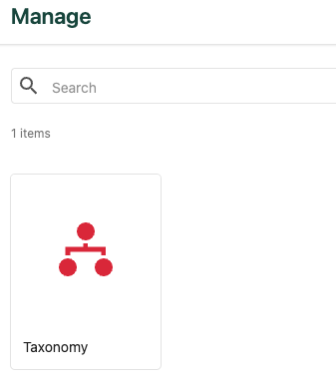
- On the manage page, click the Taxonomy card.
- Navigate to the taxonomy to be edited. Use the pagination controls to view additional taxonomy lists if it does not appear on the first page.
- Click the taxonomy name to view items within the taxonomy.
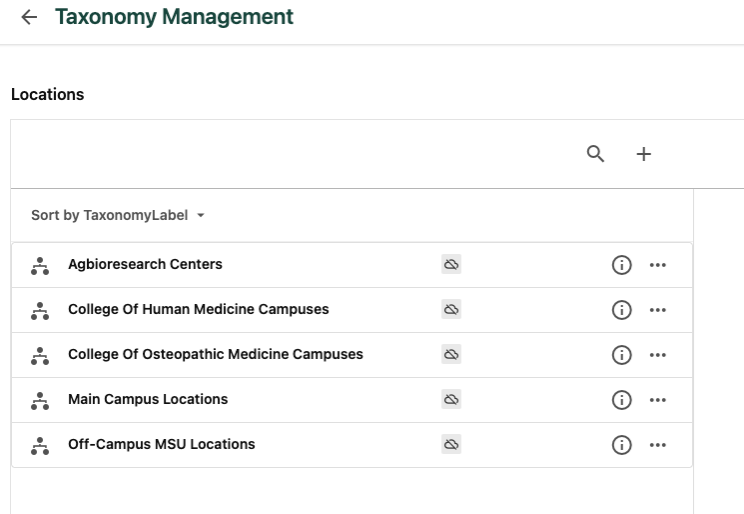
- The taxonomy page contains the list of all members of that taxonomy.
- If a “has children” (branching tree) icon appears to the left of the member name, that item is a parent item with additional child items underneath. Click the parent item name to view its children.
- To edit a particular taxonomy item within the taxonomy:
- Click the “i” (information) icon to the right of the item name.
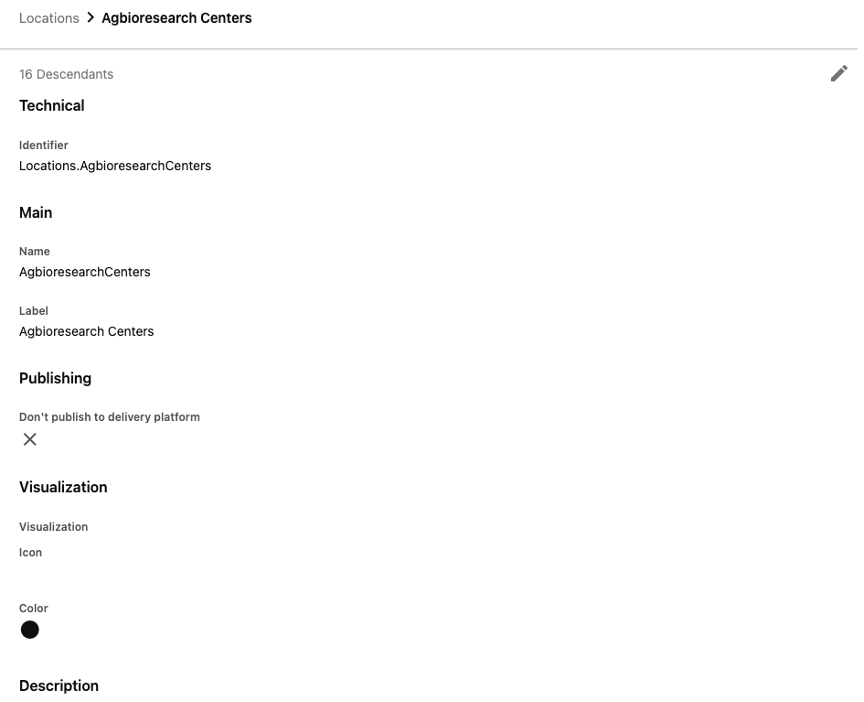
- Click the pencil (edit) icon on the Item Details page to enable editing mode.
- Edit any field, as necessary. See below for a description of the fields. Note: The item Identifier cannot be edited once the item is created. This is a backend field used to ensure consistency in data. It is not visible to users.
- Click Save.
To add an additional option to a taxonomy:
- Navigate to the taxonomy to be edited. Use the pagination controls to view additional taxonomy lists if it does not appear on the first page.
- Click the taxonomy name to view items within the taxonomy.
- If adding a child item below a parent item, also navigate to the parent item and click the parent item name.
- Click the “+” icon above the list of Taxonomy Labels on the left side of the page. A Create Item page appears.
- Fill in the taxonomy fields, beginning with Name. The Identifier field will automatically generate based on the Name field. See “Taxonomy Fields,” below, for more information on the available fields.
- Click Save.
Taxonomy items can be moved within their taxonomy list. This can be useful when elevating children or when making one item a child of another.
To move a taxonomy item:
- Navigate to the taxonomy to be edited. Use the pagination controls to view additional taxonomy lists if it does not appear on the first page.
- Click the taxonomy name to view items within the taxonomy.
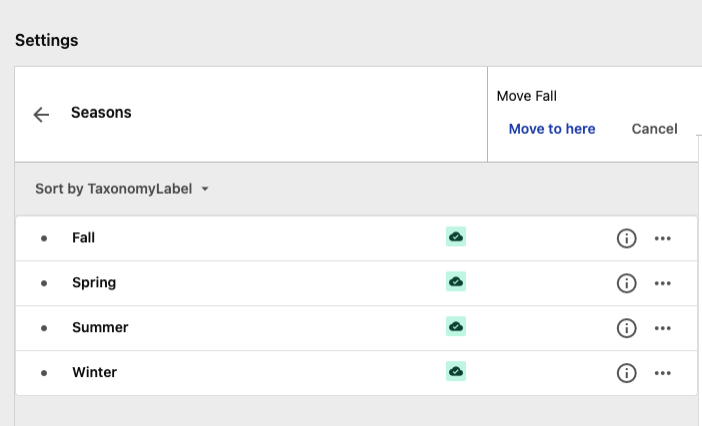
- Click the three dots icon to the right of the taxonomy item name and select Move.
- Navigate to the new location where the item should be moved.
- Click the “Move to here” text above the taxonomy items to place the item.
To delete a taxonomy item, click the three dots icon to the right of the item name and select Delete from the menu.
The following fields are available in the details panel for a taxonomy item and can be edited by asset admins:
- Identifier: This field should not be edited. It automatically resolves to the taxonomy name plus the “Name” of the taxonomy item when the item is created.
- Name: Name for the field. Ideally, this field should only change if the Label changes. No spaces or special characters are allowed in this field.
- Label: Label for the field. This is what is generally shown to users inside Content Hub.
- Synonyms: Additional ways the taxonomy item can be identified through search. Each synonym should be comma delimited.
- Description: Short description of the taxonomy item.
- Don’t publish to delivery platform: This item should not be selected.
- Icon: Icon shown for the taxonomy item. Generally left blank, but it is okay if an icon is selected.
- Color: Color for the icon, if selected.
Related Information
Taxonomy Reference Guide
System users can review documentation for the various available taxonomy fields within Content Hub.
Note: To request or suggest changes to a taxonomy, contact Katie Kelly in University Communications and Marketing.