There are several places where pages can be named in Sitecore. How the name fields are approached impacts how the name displays within the system and publicly to website visitors.
Initial Page Name and URL
When initially creating a page, use lowercase letters and a hyphen or underscore instead of a space in the page title. This initial name impacts the page URL and appears in the Site Content Tree.
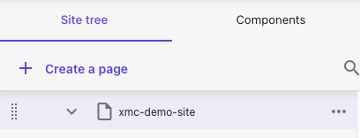
Name Displayed in Content Tree
To change how the page name appears in the Site Content Tree within Sitecore:
In Page Builder:
- Locate the page in the Site tree (left-side panel).
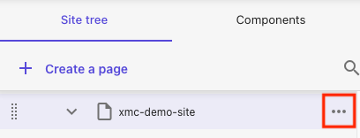
- Click the “…” icon to the right of the page name and click Rename item.
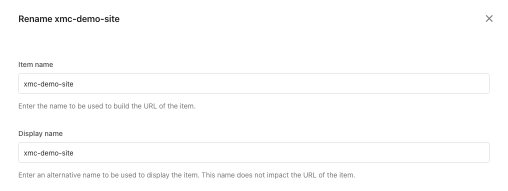
- Change the Display name field. You can use spaces in this field. It is for internal use only.
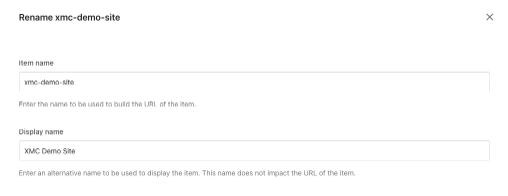
Click Rename. The Site Content Tree now shows the new Display name.

Figure 5: The Site Content Tree display name may be easier for content authors to read but it will not impact the website visitor experience. Note: Changing this field will not update the public display of the page name, such as what a site visitor would see in navigation.
Figure 6: The navigation and breadcrumb components still display the Item name.
Page Name Visible to Visitors
To change the visible page name that is referenced in the Main Navigation, Page Title and Contextual Navigation components:
In Content Editor:
- Locate the page in the Site Content Tree. Click to select.
- Change the Title field and the Browser Title fields to the desired page name.


- Click Save.
- View in Page Builder. Refresh the page, if necessary.
- The Breadcrumb or Page Title component will update to show the change.

- Add a Page Title component to the Main Body content area.

- Update the text in the field to your desired page name.

- Refresh the page. The breadcrumb should now update to match the page name, confirming the change was accepted.

- Delete the Page Title component if it is not needed.
Documentation updated: July 1, 2025
Is there an issue with this documentation? Report it here.