All users with access to the DAM can search it for assets via the Assets page. Searches can be saved, and these saved searches are dynamic. The results will update as additional assets are added to the DAM. Users also can save selections, which are manually curated groups of images that do not update as additional assets are added to the system.
Basic Search
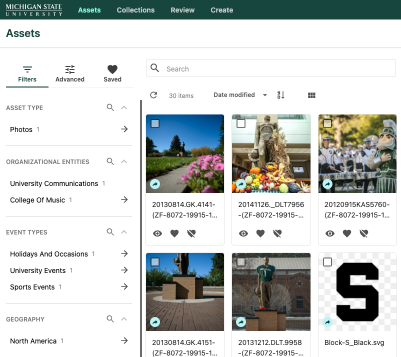
The full text search box at the top of the Assets page will search titles, file names and all metadata fields, including tags, alt text and description.
Search results are returned sorted by relevance by default. Relevancy scoring by Content Hub is explained in Sitecore’s documentation.
Users can use the sorting setting filter to change the sort method to other options, such as by Title, Filename, Date created or Date modified. The filter name will display the sort method in use. Reverse sort by toggling the sort button (icon containing an up or down arrow) located to the right of the sort option menu.
Search Filters
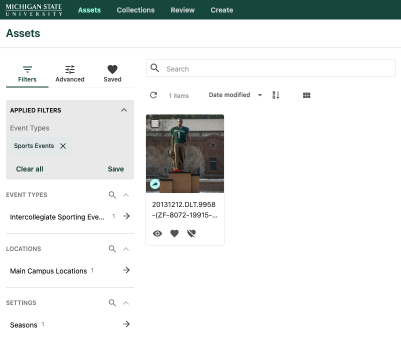
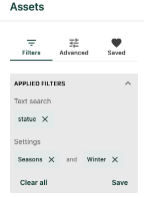
On the left side of the Assets page, the Filters panel provides additional filter options within the displayed search results. Click on a filter to apply it to the current search results. Applied filters will be listed in the Applied Filters box at the top of the panel.
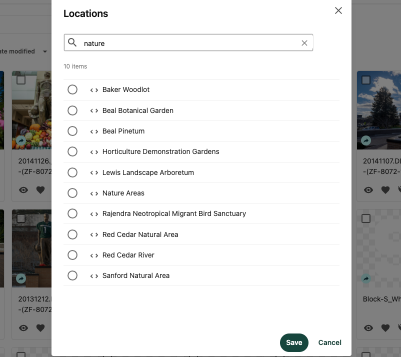
Users who do not see a filter required for their search may be able to search within a taxonomy group to find the filter. For example, if the user needed a location and didn’t see it in the list, the user could click on the search icon next to the taxonomy group. This will bring up a search box where users can search for more specific taxonomy terms.
Advanced Filters
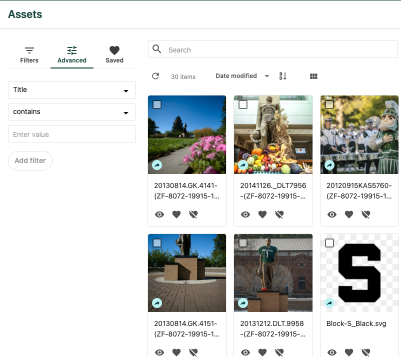
Advanced filters are also available for users requiring even more robust search functionality. For example, a user may need to include specific ranges of image sizes or dates for image creation or modification. To access the advanced filters, click the Advanced tab in the Filters panel on the left side of the Assets page.
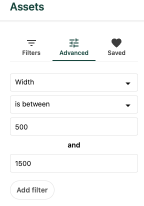
To enable a new advanced filter:
- Click the Advanced tab in the Filters panel.
- Click the top drop-down menu and specify the field to be filtered.
- Use the appropriate filter setting options to craft the search query. For example, in Figure 4 the filter is set to search for any word or words added to the “Enter value” box when they appear in the Title field. In Figure 5, the search results will display assets with an image width between 500 and 1,500 pixels.
- Click the Add filter button to apply the search filter.
Saved Searches
Users can save a search in cases where they consistently search the same query. This is helpful when your search contains a combination of several different filters.
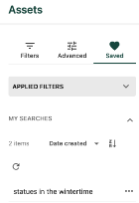
Saved searches can be accessed by clicking the Saved tab in the Filters panel on the left side of the Assets page.
Instructions for Saved Searches
- Set up your search query using your search terms and/or filters.
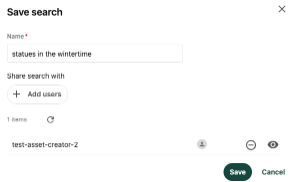
- Click the Save button on the bottom right of the Applied Filters panel.
- Name the search to be saved.
- (Optional) Share with others by clicking the + Add users button, searching for and selecting a user from the user list. Once a user is added to this field, they will have access to the shared search. The search creator can adjust the level of access to either view the search or edit the filters by clicking the eye icon to the right of the user’s name.
- Click the Saved tab in the Filters panel.
- Locate the “My searches” section of the panel and click a filter to apply the saved settings to your search.
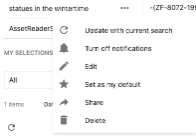
Clicking the three dots icon to the right of the Saved search name opens the saved search options menu. Use this menu to:
- Update with current search: Clicking this will update the saved selection with the current set of filters.
- Turn off/on notifications: Turning on notifications will mean the search owner receives a notification once per day if the set of filters includes a new asset.
- Edit: Clicking this will allow the search owner to edit the saved search name and shared user settings.
- Set as my default: Clicking this will set the saved search as the default search for the user when accessing the Assets page.
- Share: This allows the user to share the saved search via a saved link. The link can be shared with other users.
- Delete: Click this to delete the saved search.
Saved Selections
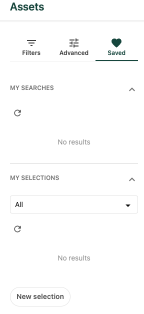
A saved selection is a manually curated, selected list of assets specified by a user to be included in the selection. Like a saved search, saved selections are also accessed via the Saved tab in the Filters panel on the Assets page.
Instructions for Saved Selections
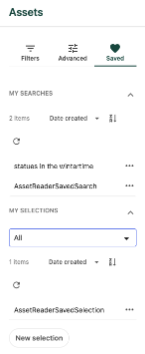
- Open the Saved tab on the Filters panel.
- Navigate to the My Selections section of the panel.
- Click the New selection button.
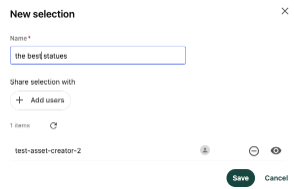
- Name the selection.
- (Optional) Share with others by clicking the + Add users button, searching for and selecting a user from the user list. Once a user is added to this field, they will have access to the shared search. The search creator can adjust the level of access to either view the search or edit the filters by clicking the eye icon to the right of the user’s name.
- Click Save.
- Locate an asset to be added to a selection on the Assets page.
- Click the heart icon below the asset thumbnail.
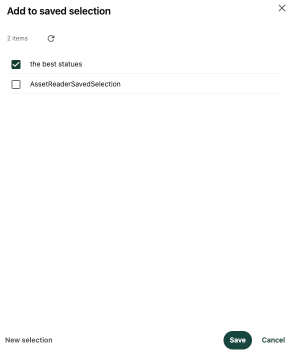
- Check the box next to a saved selection on the “Add to saved selection” screen to add the asset to the selection.
- Click Save on the bottom right of the window.
- Repeat, as needed, to add additional assets to the selection.
The added asset will now appear when the user loads the saved selection for the “My selections” group of the Saved tab on the Filters panel.
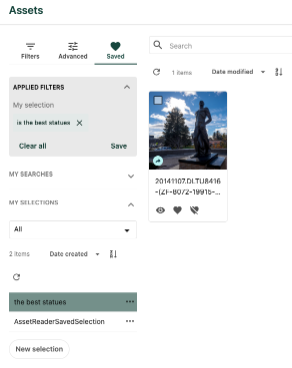
Users can search, sort and filter within a saved selection by following the same search, sort and filter steps used in general searches.
Documentation updated: June 16, 2025
Is there an issue with this documentation? Report it here.