Assets are used in channels outside of Content Hub, such as on a website, in email, or on social media channels, by using a public image link. Public links differ from renditions in that they cannot be downloaded; their dimensions and cropping settings are created in the moment. Public links can only be created by Asset Creators or Editors, Asset Validators and Asset Admins.
Public Links vs. Downloads
Assets can be downloaded from Content Hub for use in offline work, such as downloading an image to be used in Adobe InDesign when designing a print publication.
Whenever possible, users should rely on public links. There are many benefits to using a public link instead of downloading and hosting the asset file, such as:
- Faster loading times — Linked images are quickly served to users. Faster page load times improve search engine optimization and quality of the user experience.
- Reduced storage space — Linked images reduce storage space required for websites, making website hosting more cost and energy efficient. By not downloading images to a computer, users save local or server storage space as well.
Creating Public Links
To create a public link:
- Navigate to the Asset Details page for an approved asset.
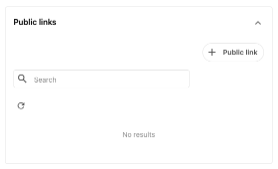
- On the left side of the page, locate the “Public links” panel.
- Click the + Public link button in the “Public links” panel.
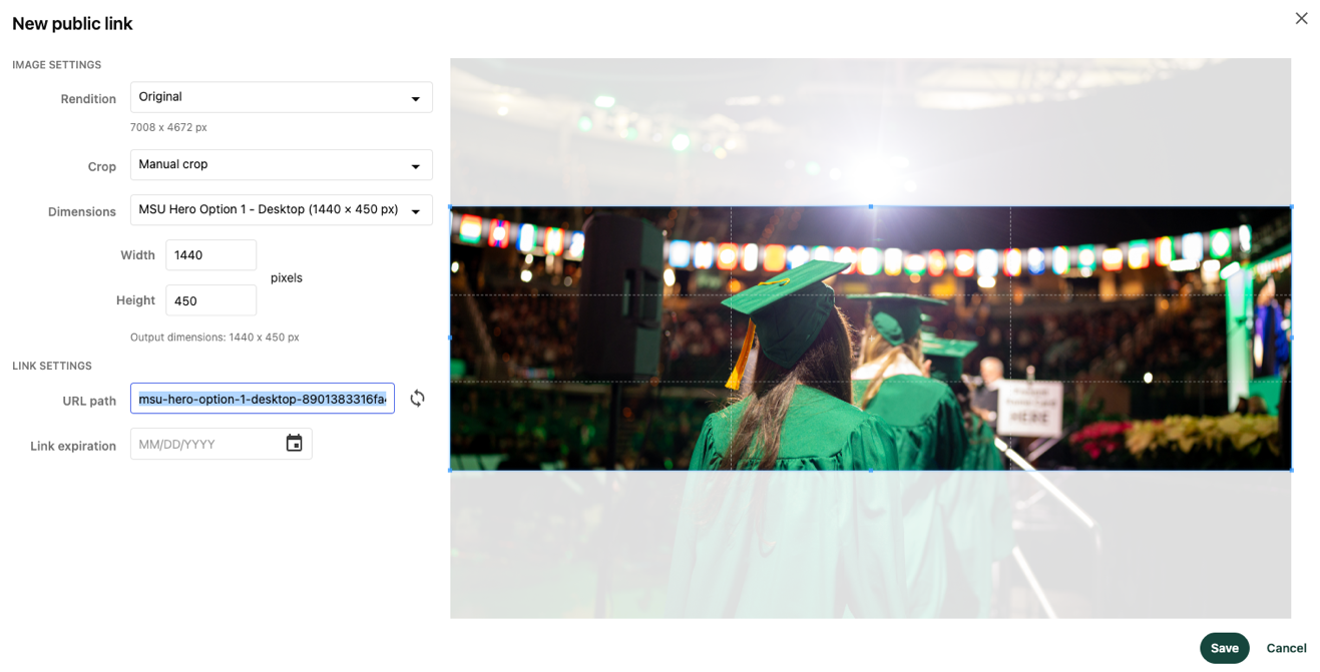
Set the public link options, as needed:
- Select the Rendition. Select the image rendition to use as a base for the creation of the public link.
- Select, preview and edit the crop and dimensions.
- Often, users will need to select a different crop for the image. If that is the case, select Manual crop to change the cropping and size details for the image.
- After selecting Manual crop, users can see all the preset sizes available for use in web channels under the Presets field. Click to select a preset to apply that size to the asset.
- If a custom width and height setting is required, select Custom width and height and enter the necessary dimensions (in pixels) in the boxes that appear below the Dimensions drop-down.
- After a dimension is selected, a box will appear to the right showing a preview of the image with the new dimensions and cropping. Users can move the box by clicking and dragging it to ensure the cropping works for the use case.
- Name the URL path. If using a preset dimension, users must change the URL path to indicate the preset used. This aids other users by indicating the preset size.
- Prefix the URL character string in the URL path box with the name of the preset used, without spaces.
- Do not change or remove the combination of letters and numbers in the box.
- Example: An asset public link is created using “MSU Hero Option 1 – Desktop” as a preset dimension. The URL path would look similar to this: “msu-hero-option-1-desktop-8901383316fa45d9a1245d3d341ea04b”.
- Set the link expiration (optional). If the public link must expire on a specific date, the user can select the expiration date using the date selector. If no expiration is needed, leave this field blank.
- Click Save at the bottom right of the “New public link” box.
View and Use Available Public Links
To view the existing public links for an asset:
- Navigate to the asset’s details page.
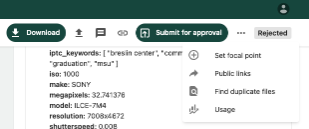
- Click the three dots at the top right corner of the Asset Details page.
- Click the Public links option from the drop-down menu. This will show all public links existing for an asset.
- Click the Copy link button next to any public link to copy it to the clipboard. It can be pasted where needed.
Public Links Are Permanent
Public links cannot be deleted or edited by anyone, including the users that created them. This is a control setting necessary because public links may be used in multiple different channels. Any unexpected edits to a public link may cause unintended consequences for the image in other channels.
If edits are needed, create a new public link.
Documentation updated: June 16, 2025
Is there an issue with this documentation? Report it here.
Note: If the public link will be used in a web channel (i.e., on a website, in an email or on a social media channel), “WebP” must be selected as the rendition. This will ensure the .webp extension is used for the public link image.