Asset Admins can edit metadata using a table view. Changes can be made on an individual asset or copied and pasted to apply the same metadata to multiple assets. This can be helpful when uploading many related assets at one time. Users should take care to not mis-tag an asset using this method, as some asset tags may differ from other assets in a selection.
Edit Metadata in a Table
- Click on the Assets tab.
- Use search and filters, if needed, to narrow down the list of available assets.
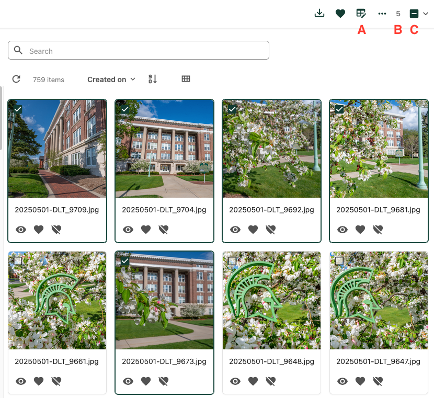
- Select all images to be bulk tagged by checking the checkbox in the top left corner of the asset card. A number in the top right corner will indicate how many assets are selected.
- Click the Edit in table icon (a 2x2 grid with a pencil) to open the bulk edit window.
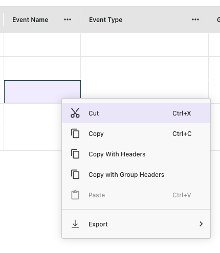
The assets are shown in a table, with the asset thumbnail on the left and one column for each taxonomy field available for editing. Fields with a red * symbol (asterisk) are either required or conditionally required based on the response in another field.
- Click into a table cell to edit the metadata for the field and enter text, as needed. Taxonomy-based cells will have the “+” icon appear for selecting from the taxonomy tree when the cell is double-clicked. Right click on a selected cell to reveal the option to copy the content from one cell and paste into another, such as when applying the same Event Name to multiple event-related assets.
- Click Save at the top of the page to save changes while working, retain the selection and keep the edit table open. Click Save and close to save changes and return to the Assets page.
Documentation updated: June 16, 2025
Is there an issue with this documentation? Report it here.