Collections are used to group assets in an organized manner and share to others, including non-Content Hub users. This allows University Communications and Marketing to share sets of assets with other units or media outlets.
Create a Collection
Collections can be created using two methods. Follow the steps below for more information.
Method 1: Create collection, then add assets
- Click the Collections tab on the navigation bar.
- Click + Collection button at the top right corner of the page.
- Enter collection details:
- Choose a unique name for the collection to differentiate it from other collections.
- Choose a collection type from the dropdown. Use “Event” for a collection of assets related to the same event. Choose “Media” for a collection of assets that will be shared with media.
- Enter a description so users understand the purpose of the collection.
- Click Save.
- Add assets to the collection following the instructions in the tab below.
Method 2: Select assets, then generate collection
Click the Assets tab on the navigation bar.
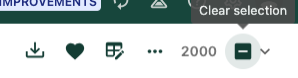
Figure 1: The icons at the top of the page indicate that assets are selected. Clicking the box on the right will clear the selection. - Use search and filters, as needed, to locate the assets that will be added to the collection.
Check the box at the top left corner of each asset thumbnail for assets to be included in the collection. Selected assets will be outlined with dark green and a checkmark appears in the corner. The toolbar at the top of the page updates to indicate the number of assets selected.
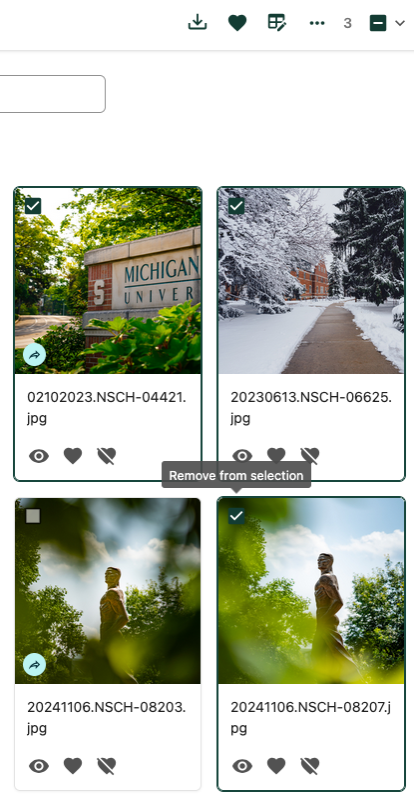
Figure 2: Three of the four pictured assets have been selected. The toolbar shows three assets are selected and updates to allow for additional actions. - Click the three dots icon on the toolbar to open the Actions menu.
Click Add to collection.
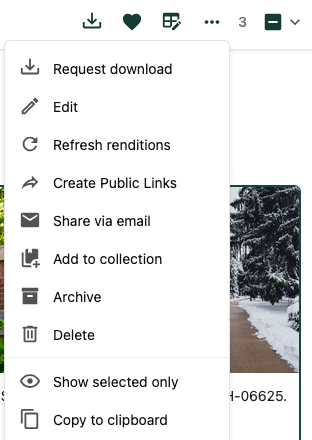
Figure 3: “Add to collection” is an option on the Actions menu. Click + Create new at the bottom of the window.
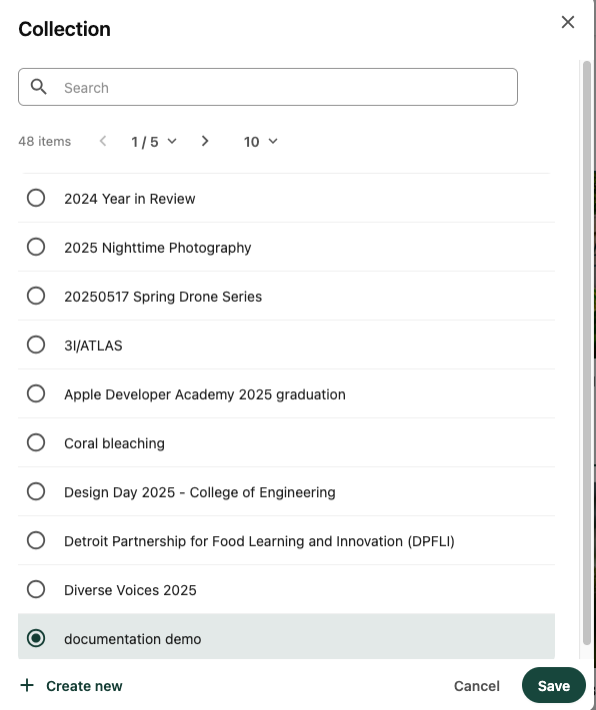
Figure 4: The “+ Create new” option appears at the bottom of the Collection selection pane. - Enter collection details:
- Choose a unique name for the collection to differentiate it from other collections.
- Choose a collection type from the dropdown. Use “Event” for a collection of assets related to the same event. Choose “Media” for a collection of assets that will be shared with media.
- Enter a description so users understand the purpose of the collection.
- Click Save.
- Click Save.
Add Assets to Existing Collection
Method 1: Add assets from Asset page
To add assets to an existing collection:
Click the Assets tab on the navigation bar.
Tip: First, confirm that your selection is cleared to be sure no assets are inadvertently added to your collection. If a number appears at the top right corner and the box on the right has a horizontal line present, there are assets actively selected. Click the box to clear the selection. (See Figure 1.)
- Use search and filters, as needed, to locate the assets that will be added to the collection.
- Check the box at the top left corner of each asset thumbnail for assets to be included in the collection. Selected assets will be outlined with dark green and a checkmark appears in the corner. The toolbar at the top of the page updates to indicate the number of assets selected. (See Figure 2.)
- Click the three dots icon on the toolbar to open the Actions menu.
- Click Add to collection. (See Figure 3.)
- Locate the collection in the list. Use the search box to narrow down the options. Click the circle Add to selection button to choose the collection the assets should be added to.
- Click Save.
Method 2: Add assets from collection’s content page
- Click the Collections tab on the navigation bar.
- Locate the collection and click the collection name to open the content view.
- Click the + Add button and choose an option from the menu:
Click + Add existing items to open a search panel to select assets. Check the box on each thumbnail to be added to the collection and click Add.
Note: The search and filter functionality are limited in this view. For more robust search options, use Method 1, above, to add assets to a collection.

Figure 5: The “+ Add” button opens the menu for options allowing users to add additional assets to the collection. 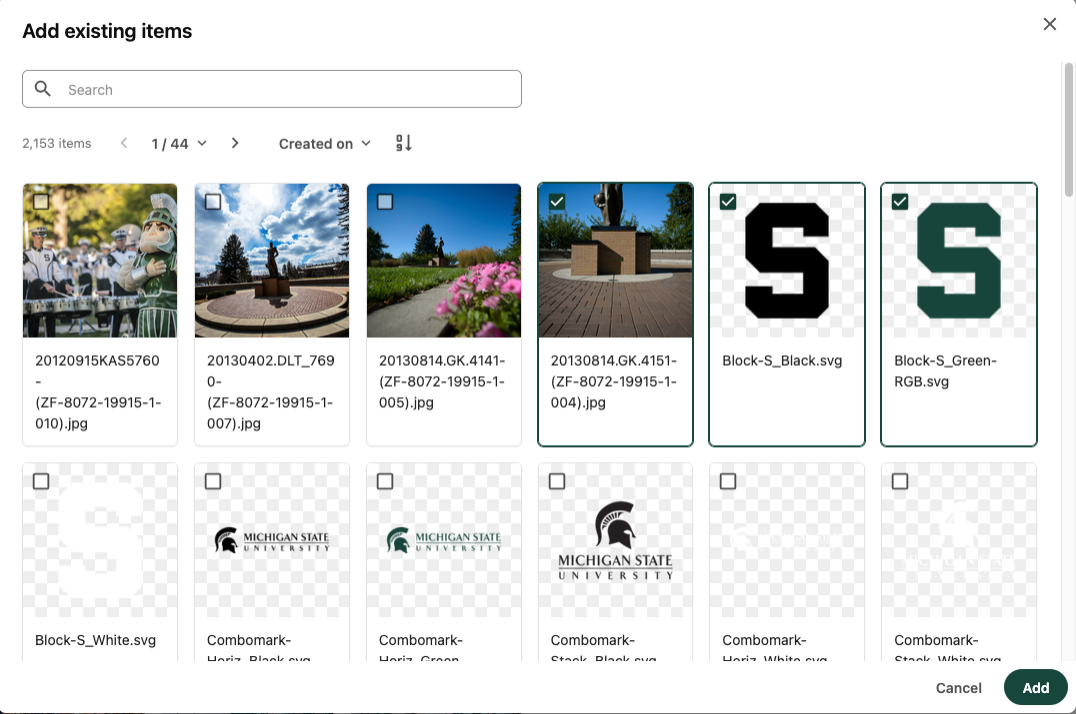
Figure 6: The search options in this view are limited to text search and sort order. - Click “Paste from clipboard” to paste previously copied assets from within Content Hub’s selection tools to the collection.
Remove Assets from Collection
- Click the Collections tab on the navigation bar.
- Locate the collection and click the collection name to open the content view.
- Click the “-“ icon at the bottom of an asset card to remove the asset from the collection.
Delete a Collection
Method 1: Delete from the Collections page
- Click the Collections tab on the navigation bar.
- Locate the collection in the list.
- Click the trash can to the right of the collection name.
- Click OK.
Method 2: Delete from the collection’s content page
- Click the Collections tab on the navigation bar.
- Locate the collection and click the collection name to open the content view.
- Click the trash can at the top right corner of the page.
- Click OK.
Share Collection
To share collection management with a Content Hub user:
- Click the Collections tab on the navigation bar.
- Locate the collection and click the collection name to open the content view.
- Click “User access” on the toolbar at the top of the page.
- Click the “+ Add users” button.
- On the Users tab, type the name or email address of the Sitecore user. Users with shared access will be able to edit and manage the collection. To restrict access to download only, share using the instructions below for sharing with non-Content Hub users.
Note: Only University Communications and Marketing staff have Content Hub access. To share with a Sitecore user outside of UCAM use the instructions below for sharing with non-Content Hub users.
To share content to a non-Content Hub user:
- Click the Collections tab on the navigation bar.
- Locate the collection and click the collection name to open the content view.
- Click “Share link” on the toolbar at the top of the page.
- Toggle the “Create external link” switch to on, if it is not already activated.
- Click “Copy link” to copy the share link. Paste this into a message (e.g., email or Teams chat) to share to non-Content Hub users.
Tip: First, confirm that your selection is cleared to be sure no assets are inadvertently added to your collection. If a number appears at the top right corner and the box on the right has a horizontal line present, there are assets actively selected. Click the box to clear the selection.